30 Aug 2026 · 2 months ago
Roofed Village Well: A Small Minecraft Blueprint
Give your village a gathering place with a compact cobblestone well, oak posts, and a simple lantern-lit roof.
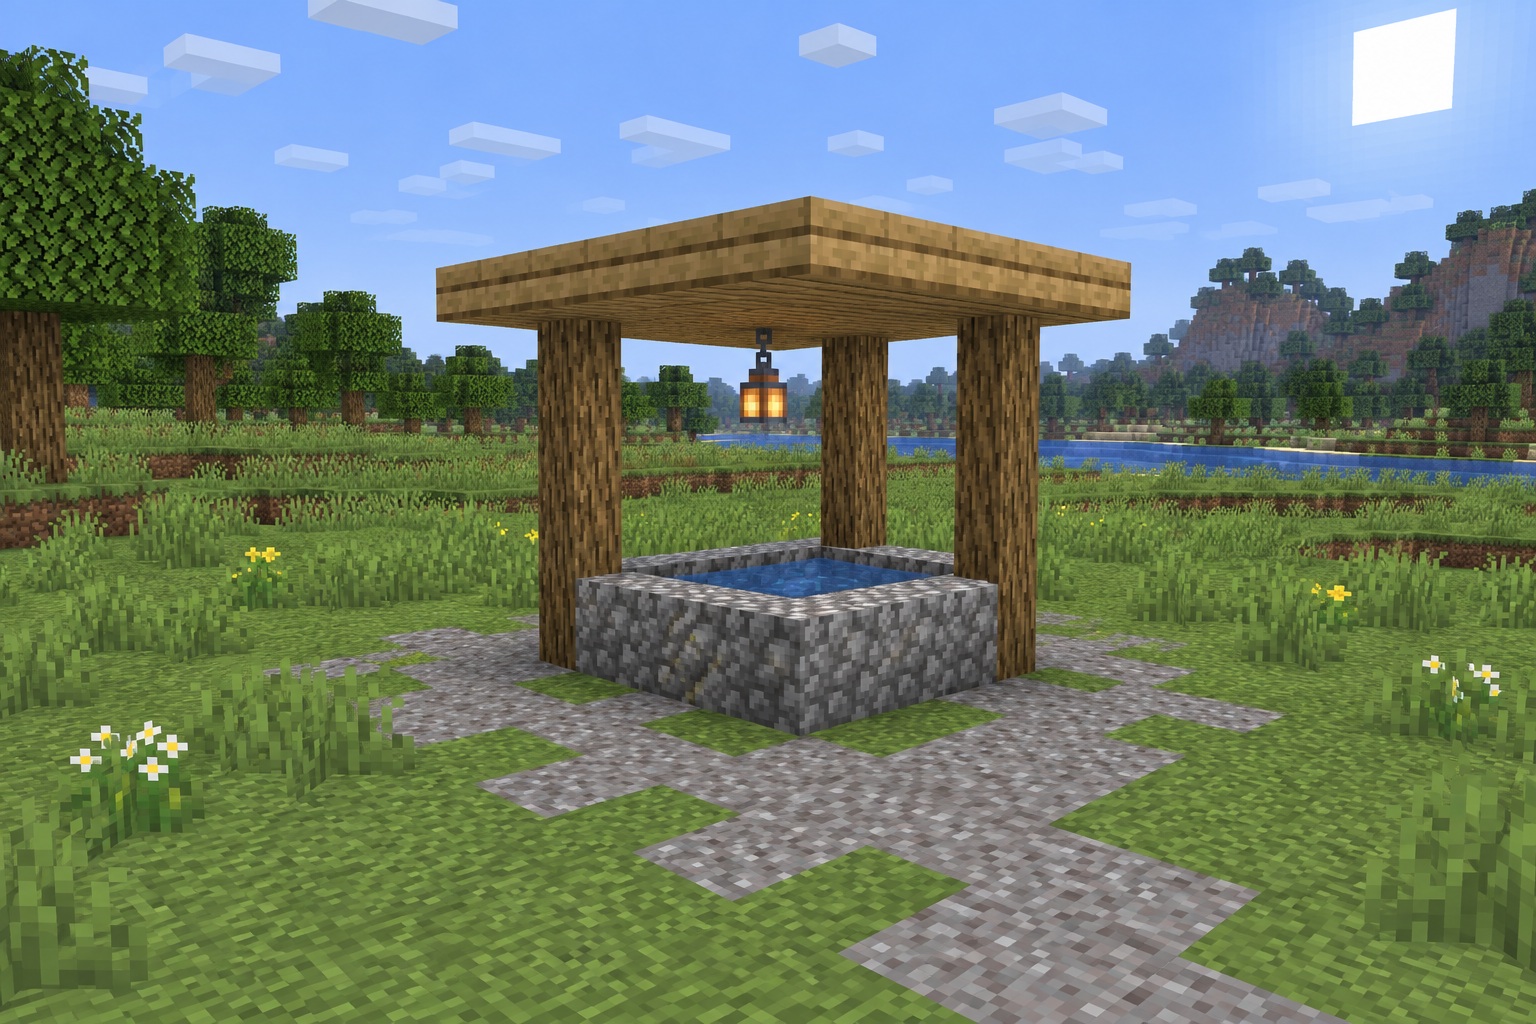
A village feels more convincing when its paths lead somewhere. This small well gives a crossroads, farmyard, or cluster of cottages a natural meeting point without taking over the space. Rough cobblestone anchors the build, four oak posts keep it open, and a flat timber canopy makes the silhouette easy to repeat across a settlement.
The basin occupies 5 × 5 blocks. Allow 7 × 7 blocks for the roof, plus walking space outside it. The finished structure is 5 blocks tall above ground level, with its basin floor set into the ground. No mods or redstone are needed.
Use the numbered diagrams and coordinates for exact placement. The hero and gallery are AI-generated appearance references, not in-game screenshots or block-count diagrams.
Materials
- **25 cobblestone blocks:** 16 for the rim and 9 for the basin floor.
- **12 oak logs:** four posts, each 3 blocks tall.
- **49 oak planks:** one solid 7 × 7 roof layer.
- **1 lantern:** suspended beneath the roof center.
- **2 water buckets:** refill from a nearby source as needed to fill the basin.
- Temporary dirt blocks for reaching the roof; remove afterward.
- Optional gravel, flowers, and path landscaping; not included in the structural counts.
Counts are placed blocks, not raw crafting ingredients. Bring a pickaxe, shovel, and axe.
How to build
1. Lay out the stone basin
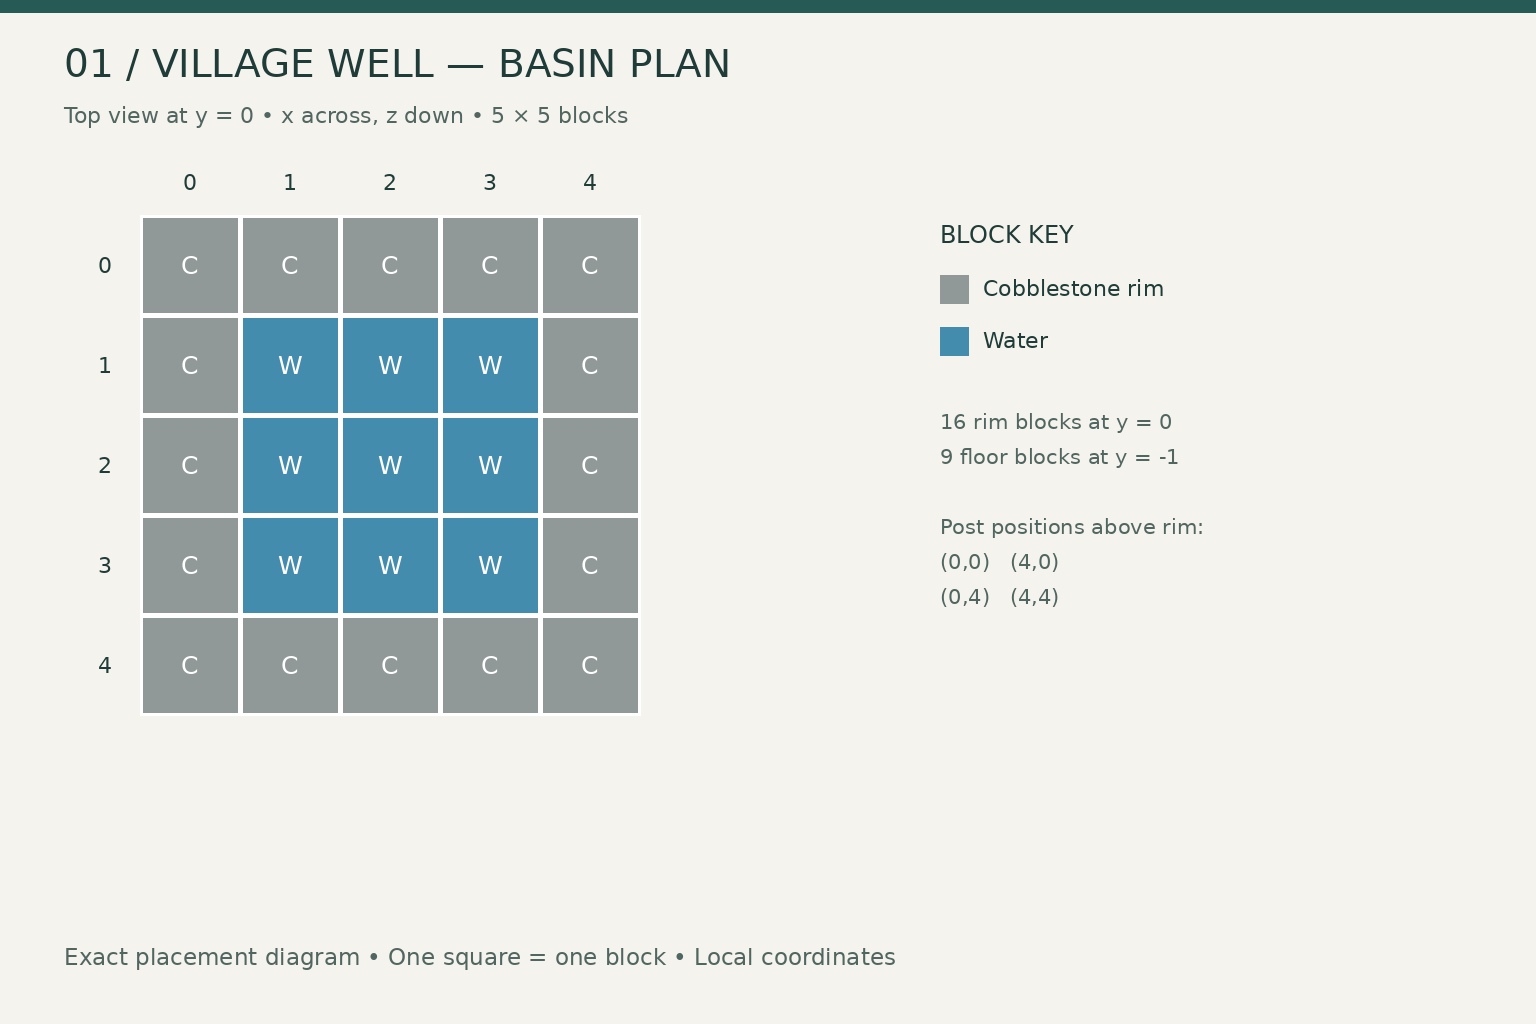
Choose a level patch of ground. Number the five columns x = 0–4, left to right when facing the well, and the five rows z = 0–4, from the near side to the far side. These are local build coordinates; you can rotate the whole plan to suit your village.
Call the first block layer above the ground y = 0. Place cobblestone around the complete 5 × 5 perimeter at this height: two rows of five and two side runs of three, for 16 blocks total. Leave the central 3 × 3 area open.
Replace the nine ground blocks directly below that opening with cobblestone at y = -1. This is the basin floor. Fill all nine interior cells at y = 0 with water, using the buckets repeatedly until the surface is still throughout. The pool is only one block deep; there is no hidden shaft to excavate.
Before continuing, check that the outside width is five blocks and the clear water area is three blocks in both directions.
2. Raise the posts and add the canopy
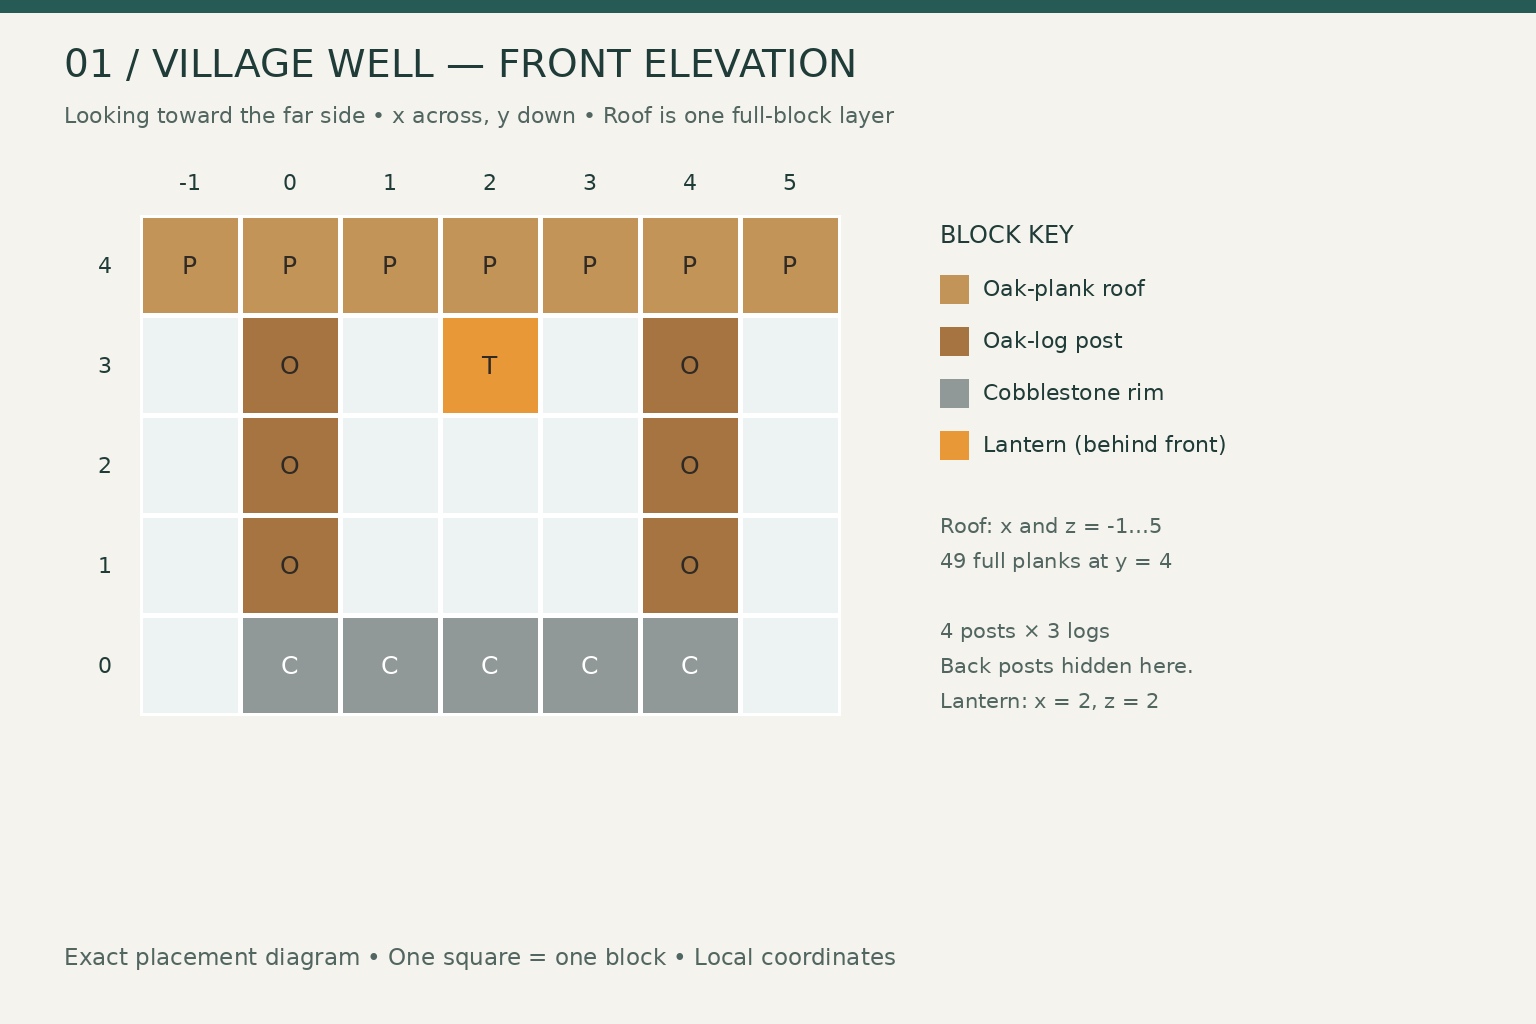
At each of the four rim corners—(0,0), (4,0), (0,4), and (4,4) in x/z—stack three oak logs on top of the cobblestone. The logs occupy y = 1, 2, and 3. Keep their grain vertical by placing them onto the block below.
Build a solid oak-plank roof at y = 4. It runs from x = -1 to 5 and z = -1 to 5, inclusive. That gives seven rows of seven planks, with a one-block overhang beyond every side of the basin. Use full planks throughout this version: the roof is flat and exactly one block thick.
Hang the lantern from the underside of the central roof plank at x = 2, z = 2. The lantern occupies the space beneath it at y = 3. Remove temporary access blocks and check that each post meets the roof.
Finish with a short gravel approach on one or two sides. Leaving some grass around the other sides makes the well feel settled into the village without covering the entire area in paving.
Gallery
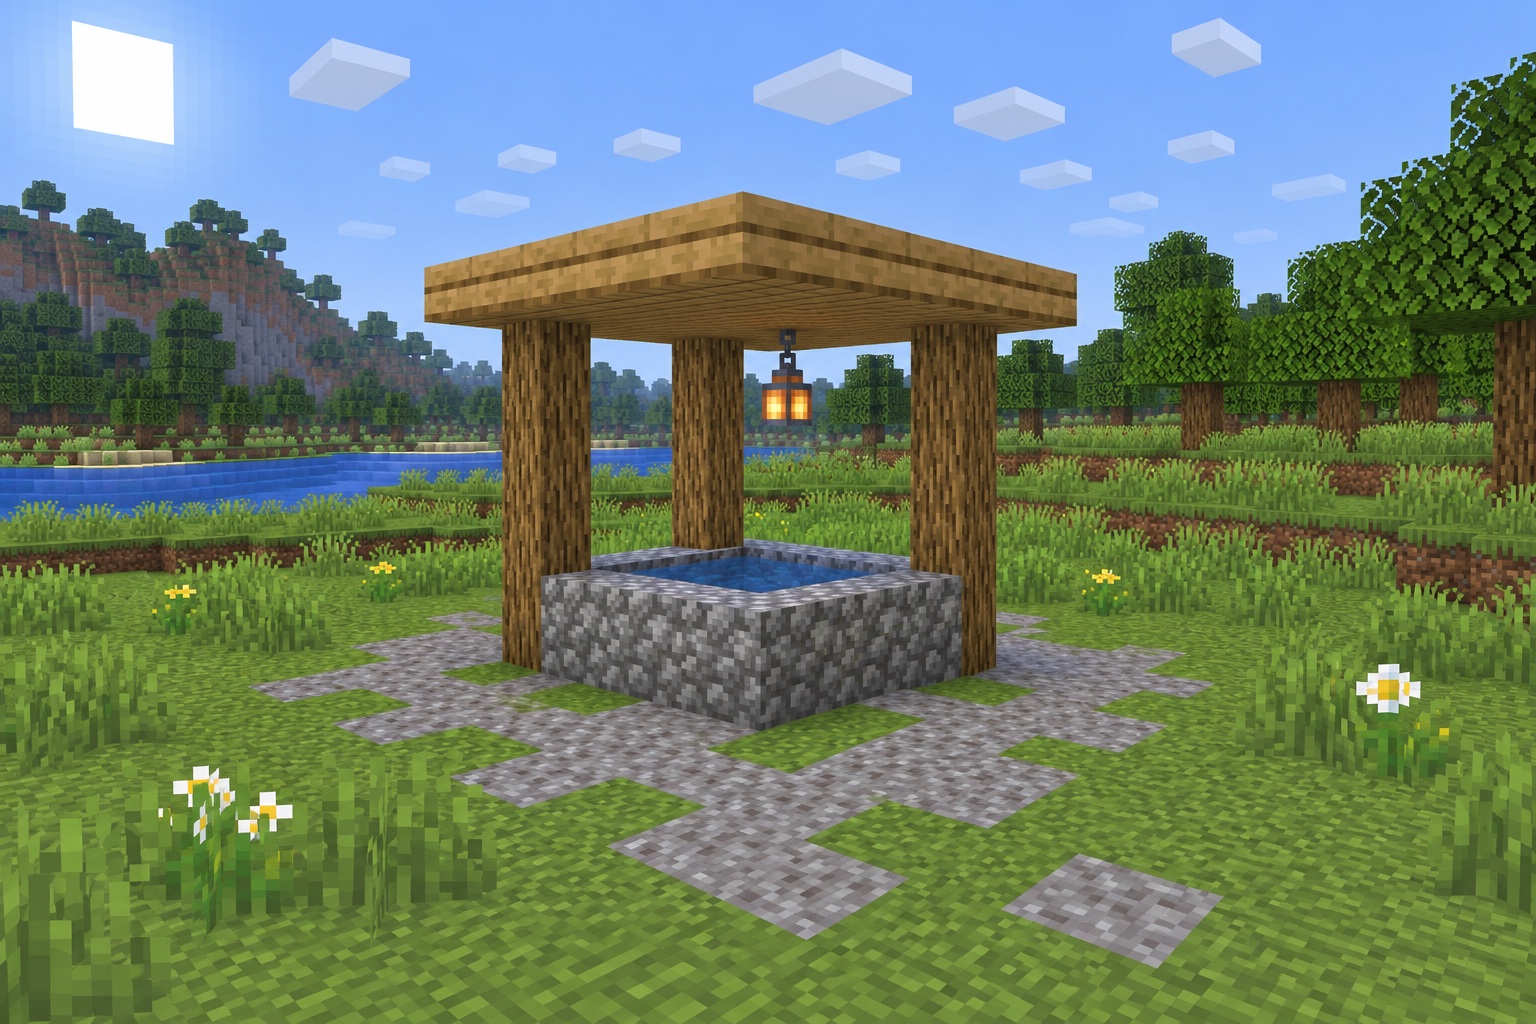
An alternate exterior view shows how the open sides keep the well visually light beside small cottages.
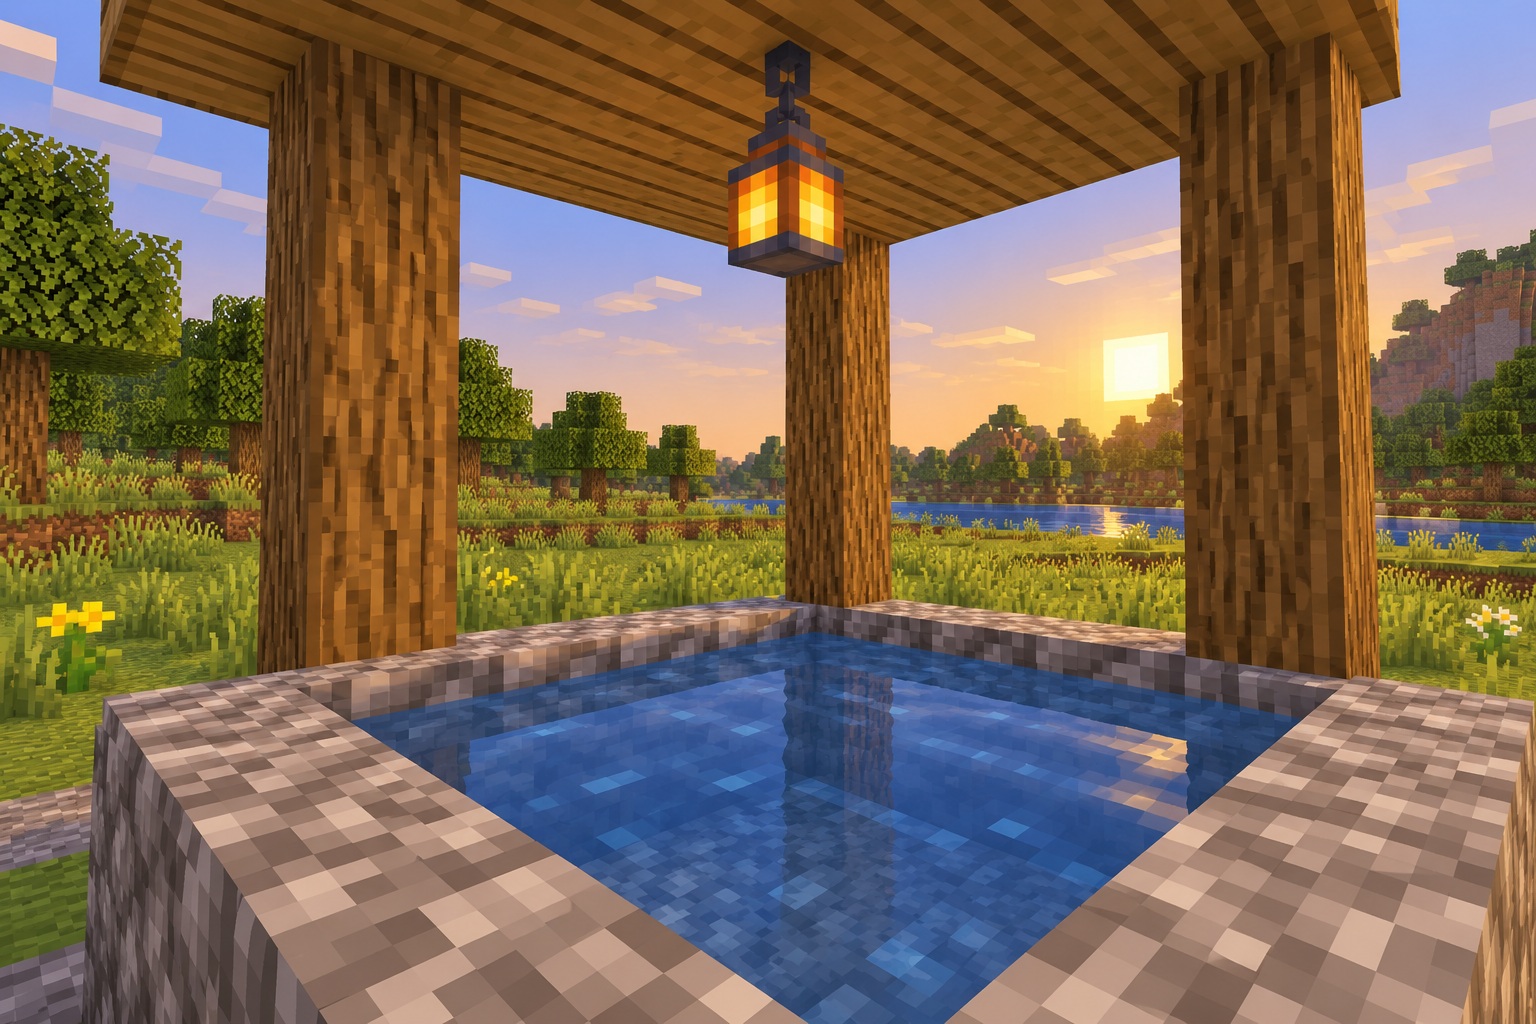
The water and lantern give the center a focal point. Keep decorative additions outside the basin so the original layout remains easy to maintain.
Leave a note
Notes are submitted for moderation and are not published automatically.